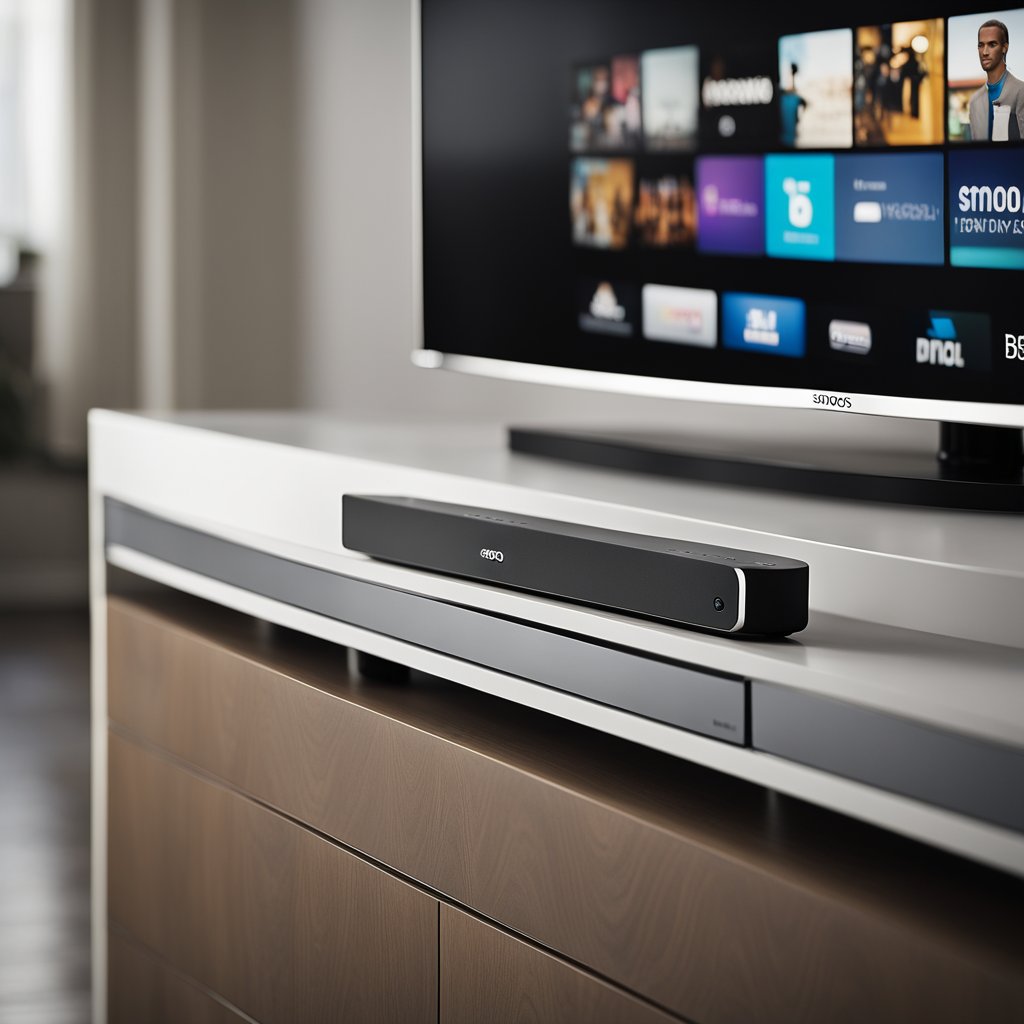
As an industry-leading smart soundbar, the Sonos Beam offers a seamless blend of compact design and superior sound quality, providing an immersive audio experience for music, movies, and TV. With the second generation, also known as Beam (Gen 2), users are treated to an even more robust audio performance with added features like support for higher resolution audio formats, including Dolby Atmos.
Setting up the Sonos Beam is a process I find straightforward, thanks to the guidance provided by the free Sonos app. The app not only facilitates a hassle-free setup but also acts as a centralized control system that integrates with various music services. Connecting the Beam to a TV involves using the provided HDMI cable; for optimal functionality, it’s essential to plug this into an HDMI ARC or eARC port. This allows for high-quality audio transmission and enables the TV to send audio back to the Beam, making it the central hub for all audio playback in the house.
The adaptability of the Sonos Beam ensures that it’s more than just a soundbar for TV audio. Its ability to fill any room with music, controlled directly through the Sonos app on iOS, Android, Mac, or PC, makes it a versatile addition to home entertainment. With my Beam, I’ve been able to mix and match other Sonos products, creating a multi-room sound system that caters to audio needs throughout my living space.
Setting Up Your Sonos Beam

I find it essential for users to understand that successful setup of the Sonos Beam revolves around two main components: establishing a physical connection with the TV and using the Sonos App for configuration and control.
Connecting to TV
When I’m looking to integrate the Sonos Beam with my TV, I prioritize ensuring an optimal audio experience. The Beam offers a straightforward connection process:
- Connect the Beam to Power: I use the supplied power cord to avoid any warranty issues.
- Attach HDMI Cable: The Beam includes an HDMI cable that I connect to its HDMI port.
- Link to TV: If my TV features an HDMI ARC (or eARC) port, which most modern TVs do, I use that port to connect the cable. Otherwise, I utilize the provided optical audio adapter to connect the Beam to the optical audio outputs on my TV.
Using the Sonos App
To complete the setup, I use the Sonos App, which offers guided instructions:
- Sonos S2 Compatibility: I confirm that my Beam is compatible with the latest Sonos S2 app, which is available for both iOS and Android devices and offers an enhanced experience.
- WiFi Setup: Within the app, I connect the Beam to my home WiFi network.
- Guided Setup: The app provides me with step-by-step instructions, from adding the Beam to my Sonos system to integrating my music services for seamless TV audio playback.
- Touch Controls and LED: I familiarize myself with the Beam’s touch controls and LED indicators through the app to manage playback and settings effectively.
Optimizing Sound Experience
In my experience, to optimize the sound of your Sonos Beam, you need to focus on proper sound calibration and settings adjustment. This ensures the best possible audio quality for your listening environment.
Trueplay Tuning
Trueplay is a feature available in the Sonos app that I use for iOS devices. It customizes the sound of the Sonos Beam to the acoustics of the room. Here’s how I tune with Trueplay:
- Place my Sonos Beam in my desired location.
- Open the Sonos app on my iOS device.
- Select my Sonos Beam from the Settings menu.
- Follow the prompts to walk around the room while my iPhone or iPad collects sound data.
Note: Trueplay is not available for Android devices.
Adjusting EQ Settings
For a sound tailored to my preferences, I delve into the EQ settings on the Sonos app. Adjustments include:
- Bass: To increase or decrease the lower frequencies to match my liking.
- Treble: To fine-tune the higher frequencies for clarity.
- Loudness: To enhance the overall depth of sound at low volumes.
To adjust EQ:
- Open the Sonos app.
- Go to Settings, choose ‘Room Settings’, and select my speaker.
- Use the slide bars to adjust the bass and treble.
Enhancing Speech and Night Sound
Two specific features I use to improve my audio experience, especially for TV viewing on the Sonos Beam, are:
- Speech Enhancement: It makes dialogue clearer, which I activate via the Sonos app when watching a movie or show with complex audio layers.
- Night Sound: It reduces the intensity of loud sounds while elevating quiet sounds – perfect for late-night TV without disturbing others.
To turn these features on or off:
- Play something on my Sonos Beam.
- Open the Sonos app.
- Tap on ‘Now Playing’ and select the speech enhancement or night sound icons as needed.
Advanced Features and Control
As an expert on Sonos Beam, my guidance will focus on voice control functionalities and the potential for expansion into a full home theater setup.
Voice Control and Assistant Integration
I find that the Sonos Beam’s voice control feature is one of its most compelling offerings. It has compatibility with multiple voice assistants:
- Amazon Alexa: I can use Alexa to play music, check news, set alarms, and more.
- Google Assistant: I integrate Google Assistant to access the wide range of services offered by Google.
- Siri: Through Apple’s AirPlay 2 support, I control the Beam with Siri from my iOS devices.
- Sonos Voice Control: Specific to Sonos products and emphasizes privacy.
Here is how I typically activate and use the voice control:
- Microphone: Beam has a built-in multi-microphone array.
- Wake Word: To engage the assistant, I use the specific wake word for each (e.g., “Alexa” or “Hey Google”).
- Touch Controls: If I prefer, I mute the microphone for privacy using the touch controls on the Beam.
Expansion and Multi-Room Setup
When it comes to expansion, I appreciate Sonos Beam’s seamless integration into the broader Sonos ecosystem. Here’s what I do to engage with a multi-room setup or a more immersive experience:
- Sub: I sometimes add the Sonos Sub for added bass to the audio experience.
- Surround Sound: To achieve a more enveloping sound, I pair the Beam with a pair of Sonos speakers to create a full 5.1 surround sound setup.
- Sonos Home Theater: Building on the Beam, I expand to a complete Sonos home theater system for a rich, cinematic experience in my living space.
- Sonos Speakers: For multi-room audio, I link the Beam to other Sonos speakers around my home, ensuring consistent and synchronized playback.
Troubleshooting and Support
When setting up or using your Sonos Beam, you may encounter issues that need troubleshooting. I’ll guide you through common problems and how to get direct support from Sonos, ensuring your experience is as smooth as possible.
Common Issues and Solutions
Status Light Indicators:
The LED on your Sonos Beam provides status light indications, which can be very helpful. For example, a solid white light means the Beam is connected and functioning correctly, while a flashing orange light indicates an issue with the connection.
-
No Sound:
- Ensure the power cord is properly connected.
- Check if the mute function is accidentally activated.
-
Wi-Fi Connection Problems:
- Reboot your router and restart the Beam.
- If Wi-Fi details have changed, update the network information via the Sonos app.
Factory Reset:
Sometimes, a reset is necessary. To perform a factory reset on the Beam:
- Unplug the speaker.
- Hold the connect button while plugging it back in, continue holding until the light flashes orange and white.
Important: Resetting will erase all data and settings.
Getting Help from Sonos
Sonos Community:
Join the Sonos Community to ask questions and find solutions shared by other users. It’s a resourceful platform where I often find answers to issues others have previously solved.
Live Chat and Technicians:
If you cannot resolve an issue, Sonos provides a live chat service. Here, I have found that their technicians are knowledgeable and ready to assist with any troubleshooting steps in real time.
Remember, when contacting support, providing details such as the LED status can expedite the problem-solving process.
Frequently Asked Questions
In setting up the Sonos Beam, you may run into various questions about connection options. I’ll address some of the most common inquiries to ensure a smooth experience with your device.
How can I connect the Sonos Beam to my TV if it doesn’t have HDMI ARC?
If your TV lacks an HDMI ARC port, you can use the included optical audio adapter to connect the Sonos Beam to your TV’s optical (TOSLINK) output.
What types of connections does the Sonos Beam support?
The Sonos Beam primarily supports an HDMI ARC connection, but it’s also compatible with optical audio inputs using the adapter provided.
What cables are required to set up my Sonos Beam?
For setup, you’ll need the power cord that comes with the Sonos Beam and an HDMI cable. If your TV doesn’t support HDMI ARC, use the optical audio adapter alongside an optical cable.
Can the Sonos Beam be connected to a TV via optical input?
Yes, the Sonos Beam can connect to your TV’s optical input. You will need to use the optical audio adapter that comes with the Beam to make this connection.
Is it possible to connect the Sonos Beam to an Android device?
You can connect the Sonos Beam to an Android device through the Sonos app to manage the speaker and play audio, but direct physical connections are intended for TVs.
What is the process for resetting the Sonos Beam to factory settings?
To reset the Sonos Beam to factory settings, press and hold the power button while you plug the Beam back into power. Continue holding the button until the light flashes orange and white, then release.
Leave a Reply