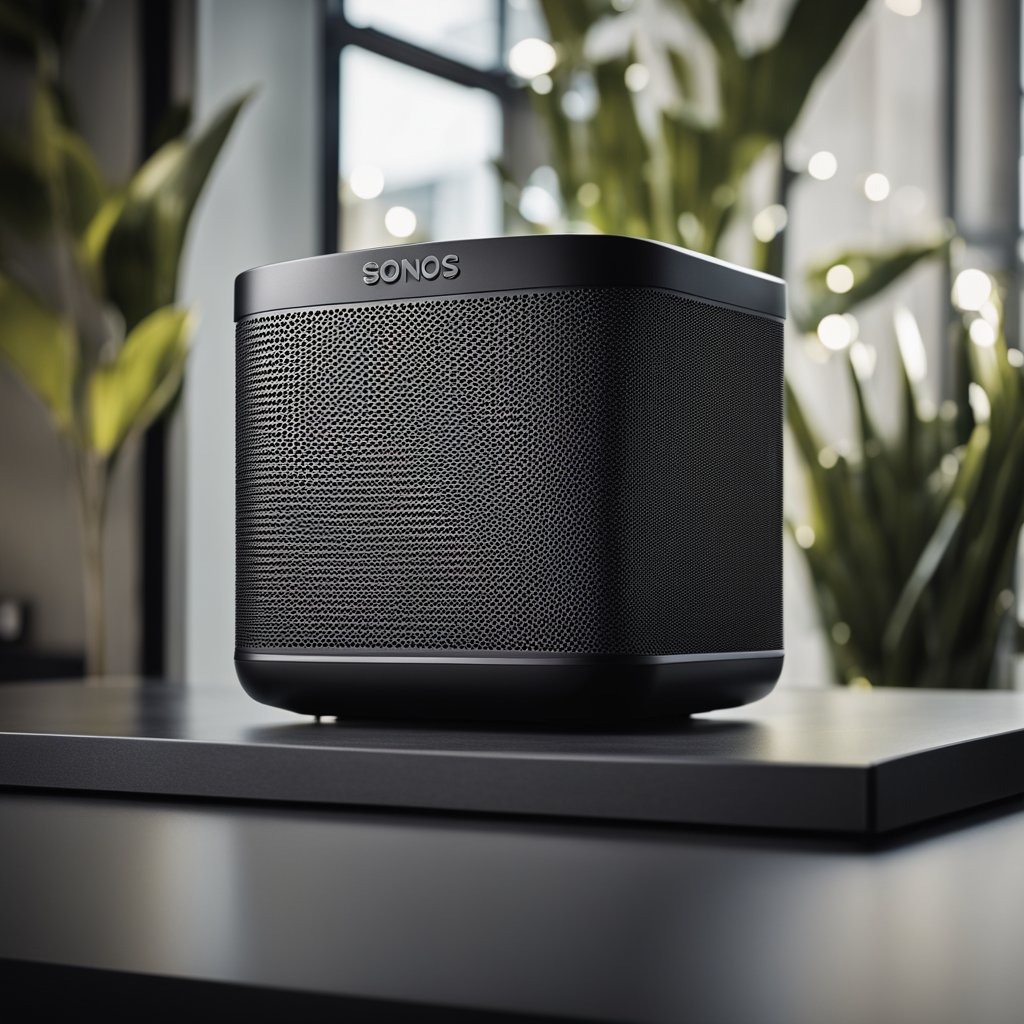
Audio compression is a critical aspect of modern audio playback systems, and Sonos has been at the forefront of delivering high-quality audio experiences to users. In my understanding of audio systems, Sonos stands out due to its user-friendly customization options, including the ability to adjust audio compression settings. This ensures that the sound output from Sonos devices is not only rich and full-bodied but also adaptable to the varying needs and preferences of its users.
Sonos equips its products with automatic audio compression by default. This setting is designed to deliver optimal performance across its range of audio products, allowing for seamless adaptation between uncompressed and compressed audio, depending on the content being played. The significance of this feature becomes apparent when considering the diverse sources of music and audio that may be connected through a Sonos system. Uncompressed audio offers the advantage of unaltered sound quality, which is particularly beneficial for audiophiles and those who use high-resolution audio services.
Setting up a Sonos system to handle different audio inputs, like CD players or turntables, involves adjusting line-in settings, which I’ve found to be a straightforward process. Sonos also caters to various user preferences by providing the option to manually switch between compressed and uncompressed audio settings. This flexibility is indicative of Sonos’ commitment to accommodating different listening scenarios, whether one is streaming high-fidelity tracks or playing standard resolution audio, making sure that users enjoy a consistent and enriching audio experience.
Understanding Sonos Audio Compression
In my exploration of Sonos audio systems, I’ve discovered that managing audio compression settings is key to optimizing your listening experience.
Compressed vs. Uncompressed Audio
Compressed audio involves reducing the data used in an audio file without significantly diminishing the quality. This process is beneficial when there is limited bandwidth or network capacity. On the other hand, uncompressed audio refers to sound files that are kept in their original form without any data reduction. This typically results in higher audio quality, as the full spectrum of sound is maintained.
- Compressed
- Pros: Less network load, more streams possible.
- Cons: Potentially lower audio quality.
- Uncompressed
- Pros: Maximum audio quality maintained.
- Cons: Requires more network capacity.
In my experience, if the network is robust, uncompressed audio yields a richer and more detailed sound. However, the compressed option should be considered when network performance is an issue.
How Sonos Handles Compression
The Sonos system provides a feature named Line-In Audio Compression that allows users to modify the audio compression settings. Utilizing the Sonos app, one can toggle between compressed and uncompressed settings.
- Compressed setting: uses a codec to reduce file size, it’s lossy but lessens the load on the devices.
- Uncompressed setting: maintains audio fidelity, reflecting a lossless format but places more demand on network resources.
- Auto setting: Sonos attempts to balance between quality and network efficiency, opting for uncompressed when the network signal is strong, and compressed if it’s not.
My guidance would be to assess your network’s stability and bandwidth; a robust network typically accommodates the uncompressed setting without any issues, leading to optimal audio quality.
Setting Up Sonos for Optimal Sound
To ensure the highest audio quality on your Sonos system, it’s essential to correctly adjust the settings through the Sonos app. The choice between compressed and uncompressed audio can make a significant difference to your listening experience.
Configuring Sonos via the App
I always make certain that my Sonos app is updated to the latest version on my iOS or Android device before tweaking the settings. Here’s how I do it:
- Open the Sonos app on my phone.
- Tap the Settings tab.
- Select System to access audio settings.
For users with macOS or Windows, the application on your desktop computer offers similar settings to manage your Sonos products.
Choosing Between Compressed and Uncompressed
When I’m about to play music, particularly from a service like Deezer, I consider whether my network can handle Uncompressed audio for the best audio quality or if I should opt for Compressed audio to ensure a smooth playback with minimal interruptions.
- Uncompressed Audio: Ideal for strong wireless signals, maintains the highest sound quality.
- Automatic: If I’m unsure about my network’s capability, this setting lets Sonos toggle between Compressed and Uncompressed based on the signal it receives.
- Compressed Audio: Advisable when wireless signal strength is weak or inconsistent, reducing the likelihood of dropouts during playback.
I adjust the compression setting directly within the Sonos app under the System section by selecting Audio Compression and choose the option that best fits my network performance and my desire for audio fidelity.
Integrations and Advanced Features
In my experience with Sonos systems, advanced features such as line-in audio compression and Trueplay tuning have notably enhanced audio performance, while support for high-resolution audio continues to be a critical demand for audiophiles.
Line-In and External Sources
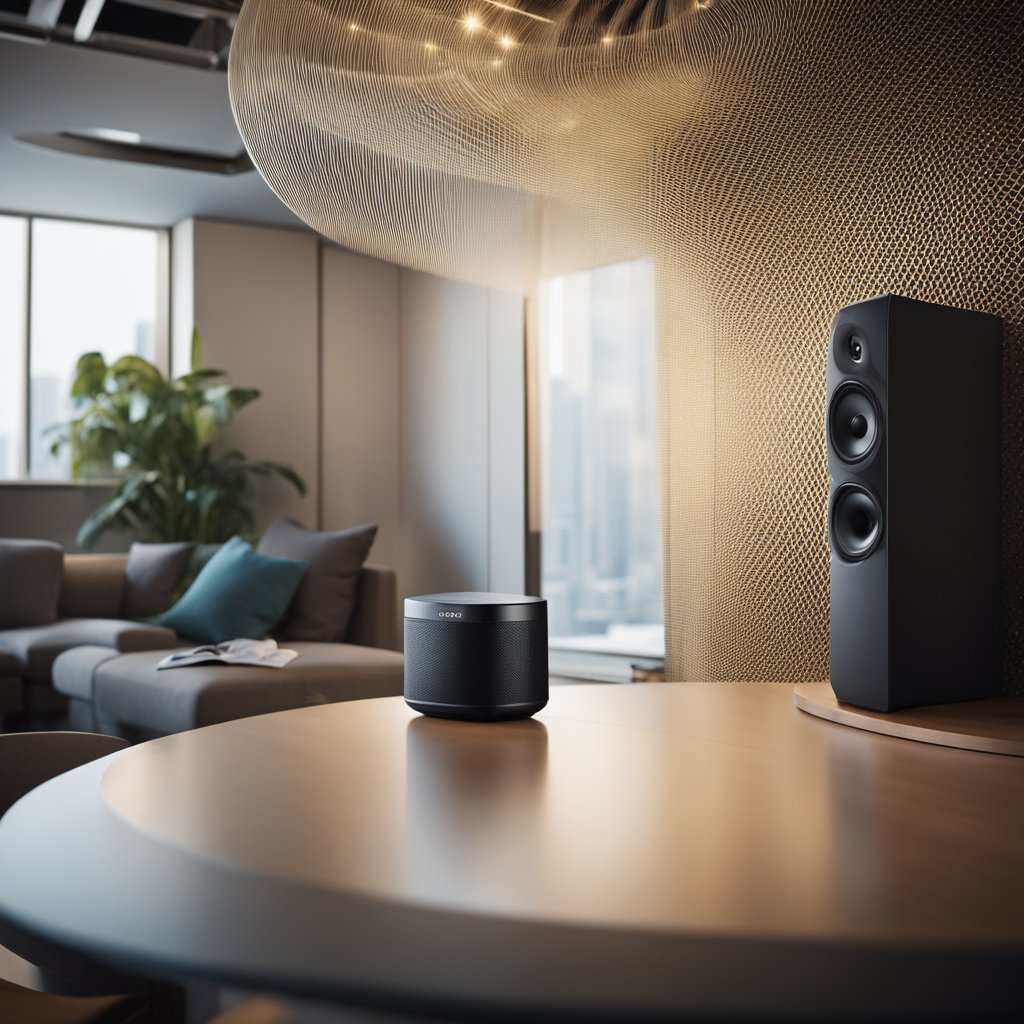
When integrating external sources with Sonos speakers, the line-in option on devices like the Sonos Five allows for connecting a wide range of devices, from CD players to turntables. The line-in settings on the Sonos app provide an opportunity to manage audio compression to maintain performance across the network. There are three settings:
- Uncompressed: Ideal for a strong network without any audio delay.
- Compressed: Better suited for weaker networks or when experiencing dropouts.
- Auto: The system decides the best option based on current conditions.
Conveniently, users can play line-in sources on any Sonos speaker in their system, regardless of where the source device is connected.
Trueplay Tuning and Stereo Pairing
I’ve observed that Trueplay tuning substantially improves the sound quality by adjusting the Sonos speaker’s output to the acoustics of the room. It’s available for speakers like the Sonos One, Sonos Move, and Sonos Roam. For those wishing to create a more immersive audio experience, stereo pairing compatible Sonos speakers will yield a true stereo soundscape and can easily be configured via the Sonos app.
Sonos and High-Resolution Audio
Sonos has evolved to support high-resolution or ‘Hi-Res’ audio, enabling my Sonos system to deliver detail-rich sound. The newer devices like Sonos Amp and Sonos Arc are designed to take advantage of high-definition sound sources. My Sonos also supports streaming services that offer CD-quality or even higher resolution tracks, ensuring I hear the music as the artists intended it to be heard.
Troubleshooting and Support
When it comes to managing audio compression for Sonos systems, I understand that users may encounter issues that need addressing. This section aims to provide clear steps for resolving common audio compression problems and how to access targeted support.
Common Issues with Audio Compression
I’ve noticed that one frequent issue users experience with Sonos involves adjusting the compression settings to improve the streaming quality of Line-In audio. When changing audio compression settings:
- Open the Sonos app on your iOS or Android device.
- Navigate to Settings > System.
- Here, you can select the Audio Compression setting that best suits your setup.
For users trying to connect via AirPlay and experience glitches, it’s recommended to initially leave the compression setting on Uncompressed and adjust the Line-In source to AirPlay Device. This increases buffering and might alleviate network-related audio delay issues.
Accessing Sonos Community & Support
When my troubleshooting has not resolved an issue, I look for additional support. The Sonos community is an excellent resource where I search for answers or create a topic for discussion. To use it:
- Search Bar: Look for existing solutions by typing in relevant keywords.
- Browse: Look at different categories or sections for related topics.
- Create Topic: If no existing solution is found, I don’t hesitate to start a new thread describing my issue.
For more personalized help, I reach out directly to Sonos support where I can:
- Engage in live chat with a technician, or
- Call for one-on-one support.
The app can also be used for controls, Sonos Radio browsing, repeat functions, and for updating your Sonos version’s firmware. It’s a holistic tool for managing your audio experience.
Frequently Asked Questions
In my experience with Sonos systems, I know many users have questions about audio compression and sound quality. Below, I’ve addressed some common inquiries that might help clarify these topics for Sonos users.
How can I adjust the audio compression settings for my Sonos system?
To modify the audio compression settings on my Sonos, I open the Sonos app on my iOS or Android device, navigate to the Settings tab, tap on System, and then select Audio Compression. Here, I can choose between compressed and uncompressed options.
What is the process to improve overall sound quality on a Sonos speaker?
Improving sound quality on a Sonos speaker often involves adjusting the audio compression to uncompressed for a more natural sound. Additionally, I ensure the speaker’s placement is optimal and free from obstructions that might interfere with sound propagation.
Is it possible for Sonos devices to play lossless audio formats?
Yes, Sonos devices can play lossless audio formats. I make sure to configure the audio compression settings correctly to appreciate the full quality of uncompressed tracks.
How can I optimize the Sonos Equalizer for the best listening experience?
I optimize the Sonos Equalizer by using the Sonos app to adjust the treble, midrange, and bass levels. This can be done by tapping ‘Settings’, then ‘Room Settings’, and selecting the speaker I want to adjust. Fine-tuning these settings helps me match my speakers to the acoustics of the room for a balanced sound.
Which audio format provides the highest quality playback on Sonos systems?
Lossless audio formats like FLAC and ALAC typically provide the highest quality playback on Sonos systems. These formats preserve the original audio data and allow me to listen to music as the artist intended.
Does a higher-quality DAC improve the sound of Sonos speakers?
Since Sonos speakers have built-in digital-to-analog converters (DACs) that are specifically designed for their hardware, adding an external DAC does not usually improve the sound. The integrated DACs are already tailored to optimize the performance and sound quality of the Sonos ecosystem.
Leave a Reply